Blog
How to Choose the Right Handlebars On A motorcycle
Handlebars play a crucial role in a motorcycle’s overall performance and rider comfort. They directly impact control, handling, and riding posture, making them one of the most important components for both beginner and experienced riders. Choosing the right handlebars can reduce fatigue, improve maneuverability, and enhance the overall riding experience, handlebars on a motorcycle.
When selecting handlebars, several factors come into play, including the rider’s height, preferred riding style, motorcycle type, and ergonomics. The width, height, pullback, and material of the handlebars all influence how comfortable and responsive the bike feels. Additionally, aesthetics and compatibility with existing bike parts are important considerations.
This blog post aims to guide riders through the essential aspects of choosing the perfect handlebars. Whether you’re customizing your bike or upgrading for better performance, understanding these factors will help you make an informed decision that improves both comfort and control on the road.
Understanding Motorcycle Handlebars
A. Types of Motorcycle Handlebars
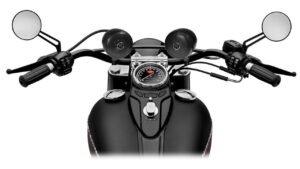
1. Standard Handlebars
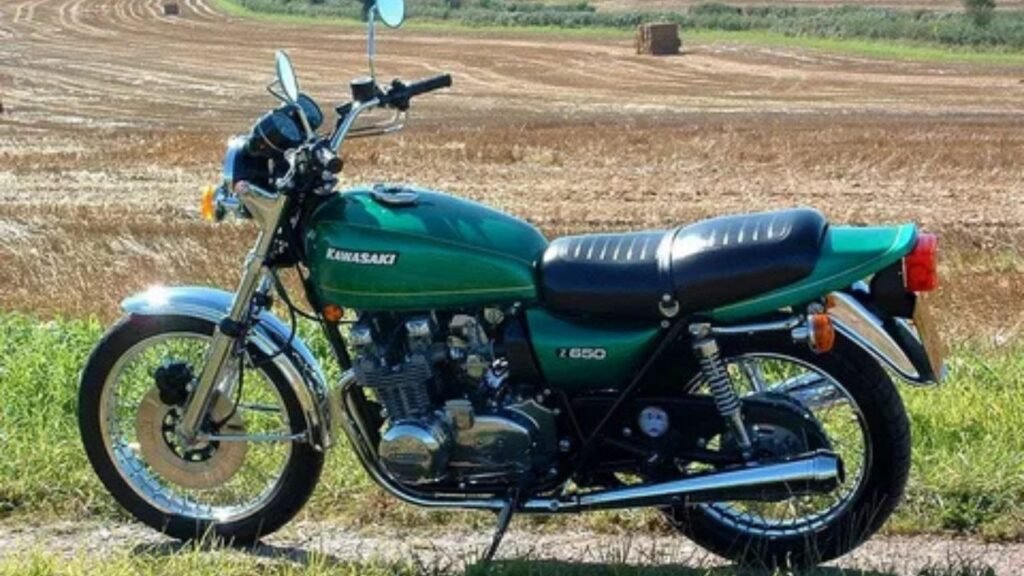
Standard handlebars are the most common and versatile type found on many motorcycles. They provide a neutral riding position, with the rider’s hands placed comfortably at shoulder height or slightly below. This style offers balanced control and comfort, making it ideal for daily commuting, touring, and handling a motorcycle, and for beginner riders. handlebars on a motorcycle.
2. Ape Hangers
Ape hanger handlebars are characterized by their tall height, often rising above the rider’s shoulders. These bars give a distinctive look and a relaxed arm position, favored in cruiser and chopper styles. While they offer a unique aesthetic and laid-back feel, handlebars on a motorcycle ape hangers, can cause increased wind resistance and shoulder fatigue on long rides. handlebars on a motorcycle.
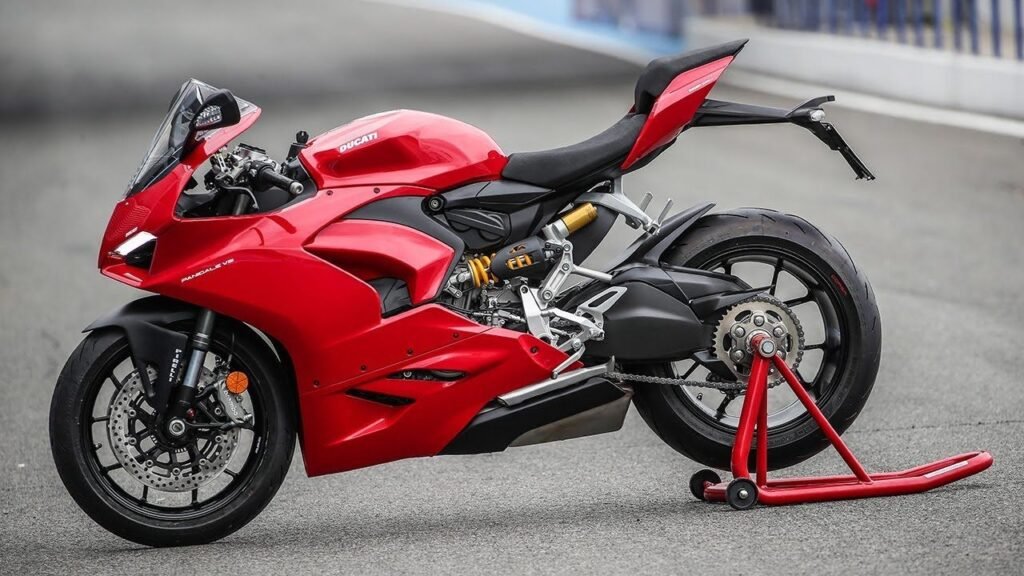
3. Clip-Ons
Clip-on handlebars attach directly to the motorcycle’s front forks, usually positioned lower and narrower than standard bars. Commonly used on sportbikes and racing motorcycles, handlebars on a motorcycle, clip-ons, encourage a more aggressive, forward-leaning posture. This setup improves aerodynamics and control at high speeds but can be less comfortable for long-distance rides due to the crouched position. handlebars on a motorcycle.
4. Drag Bars
Drag bars are straight handlebars with minimal rise or pullback. They offer a low, aggressive stance and are popular on drag racing bikes and custom builds. Their simple design allows for quick steering response but may sacrifice some comfort and control on rough roads or during slow maneuvers. handlebars on a motorcycle.
B. Impact of Handlebar Type on Riding Style and Comfort
The type of handlebars chosen has a significant impact on riding style and comfort. Standard handlebars provide a balanced position that reduces fatigue and enhances control, making them a great all-around choice. Ape hangers, while visually striking, shift the rider’s arms upward, which can cause discomfort during long rides, but are perfect for riders seeking a relaxed, cruiser-style posture, handlebars on a motorcycle.
Clip-ons promote a sporty, aerodynamic riding position, ideal for aggressive riding and cornering. However, their low placement puts pressure on the wrists and neck, which can be tiring over extended periods. Drag bars encourage a forward-leaning stance with responsive steering, suited for short, fast rides but less comfortable for casual cruising, handlebars on a motorcycle.
Ultimately, the best handlebar depends on the rider’s preferences, riding conditions, and the type of motorcycle. Comfort, control, and style must all be balanced to enhance the riding experience, handlebars on a motorcycle.
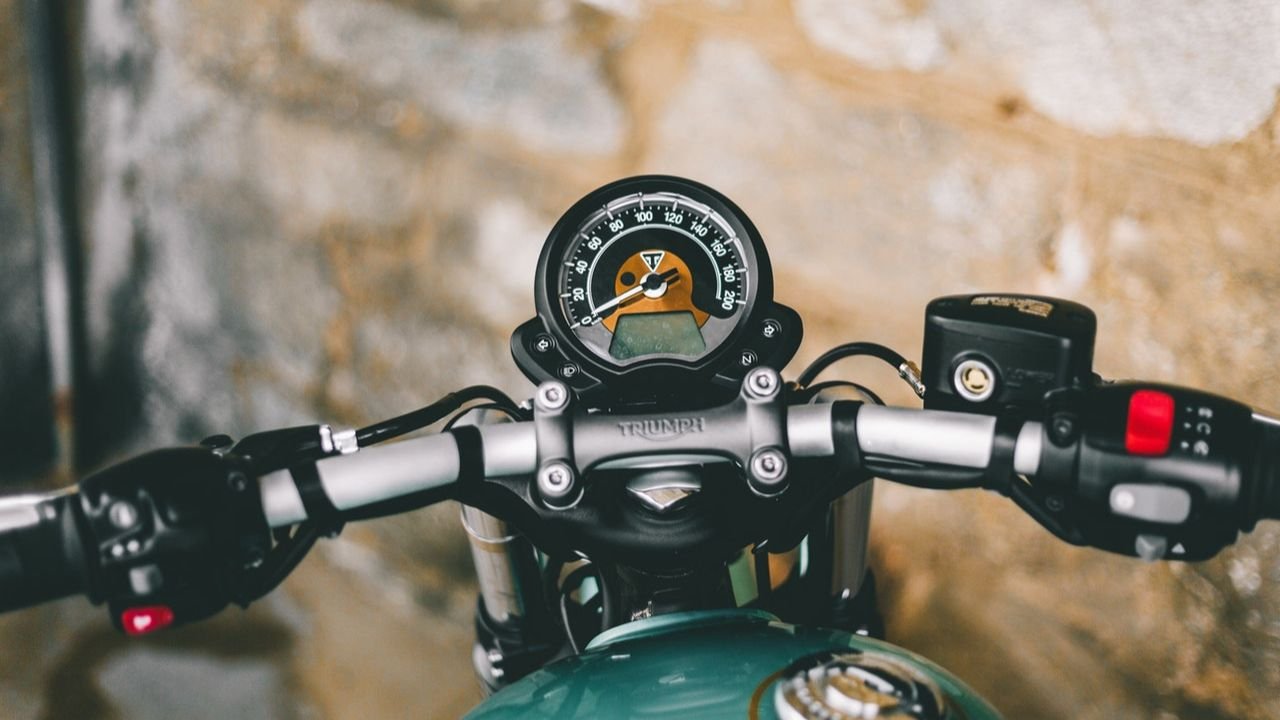
How to Measure Motorcycle Handlebars
A. Tools Needed for Measurement
To accurately measure motorcycle handlebars, you will need a few simple tools. A tape measure or a ruler is essential for taking precise measurements of width, rise, and pullback. A straight edge or level can help ensure measurements are aligned correctly, especially when measuring the rise or pullback angles. For digital precision, a caliper or a digital angle finder can be useful, but is not necessary for most casual measurements.
B. Step-by-Step Guide on Measuring Handlebars
1. Width
The width of handlebars is measured from one end to the other, spanning the entire distance between the grips. Place your tape measure across the widest part of the bars, ensuring it’s straight and parallel to the ground. Width affects leverage and control; wider bars provide more leverage for steering but may be less aerodynamic.
2. Rise
Rise refers to how high the handlebars extend above the mounting point (typically where they clamp to the triple tree or risers). To measure rise, place the tape measure vertically from the base of the handlebar mounting point to the highest point of the bar. This measurement determines the height of your hand position and influences riding posture and comfort.
3. Pullback
Pullback measures how far the bars curve back towards the rider from the mounting point. To find the pullback, measure horizontally from the center of the mounting point to the center of the grip area. This affects how close the bars bring the rider’s hands and impacts wrist and shoulder comfort.
C. Importance of Accurate Measurements for Fit and Comfort
Accurate handlebar measurements are vital to ensure proper fit and riding comfort. Incorrect dimensions can lead to poor ergonomics, causing strain on the wrists, shoulders, and back, especially during long rides. For example, bars that are too wide might make maneuvering through traffic difficult, while bars with insufficient rise can force the rider into an uncomfortable, hunched posture.
Proper width, rise, and pullback ensure that the handlebars complement the rider’s body size, arm length, and riding style. This balance improves control, reduces fatigue, and enhances overall safety on the road. When customizing or replacing handlebars, having precise measurements helps select the right fit for your motorcycle and personal comfort preferences.
Comfort Considerations
A. Are Ape Hangers Comfortable?
Ape hanger handlebars are known for their dramatic height, with grips often rising above shoulder level. Whether ape hangers are comfortable largely depends on the rider’s body type, riding style, and the height of the bars themselves.
Pros of Ape Hangers:
- They create a relaxed, open-arm riding posture that many find stylish and iconic, especially on cruisers and choppers.
- The elevated hand position can reduce wrist strain compared to lower handlebars, allowing a more natural arm alignment for some riders.
- They provide a unique aesthetic that appeals to those wanting a standout custom look.
Cons of Ape Hangers:
- On long rides, the raised arms can cause shoulder fatigue and numbness due to muscle strain and reduced blood flow.
- They increase wind resistance, making it harder to maintain control at higher speeds.
- Not suitable for all riders, especially shorter individuals or those with limited shoulder mobility.
Ideal Riding Positions for Different Handlebar Types:
Standard handlebars encourage an upright, neutral posture, balancing comfort and control, ideal for commuting and touring. Clip-ons promote a forward-leaning, aggressive stance suited for sport riding, but can be hard on the wrists and neck. Drag bars position the rider low and forward, enhancing control but potentially sacrificing comfort over time. Ape hangers create a laid-back, open-arm stance that works well for cruising but can be fatiguing for long distances.
B. Personal Preferences and Riding Style Impact on Comfort
Comfort is subjective and varies widely based on individual preferences, body dimensions, and riding habits. A handlebar setup that feels perfect for one rider might be uncomfortable for another. Riders with longer arms might enjoy the reach of ape hangers or wider bars, while others prefer lower, closer grips.
Your riding style also plays a significant role. For example, aggressive sport riders benefit from low clip-ons that improve aerodynamics and control, whereas casual cruisers may prioritize comfort and prefer handlebars that allow a relaxed posture.
Ultimately, the best handlebar choice balances ergonomics with personal style and intended use. Trying different styles, adjusting bar height or pullback, and considering aftermarket risers or adjustable bars can help tailor the setup for maximum comfort and control.
Changing Motorcycle Handlebars
A. Tools and Materials Needed for the Change
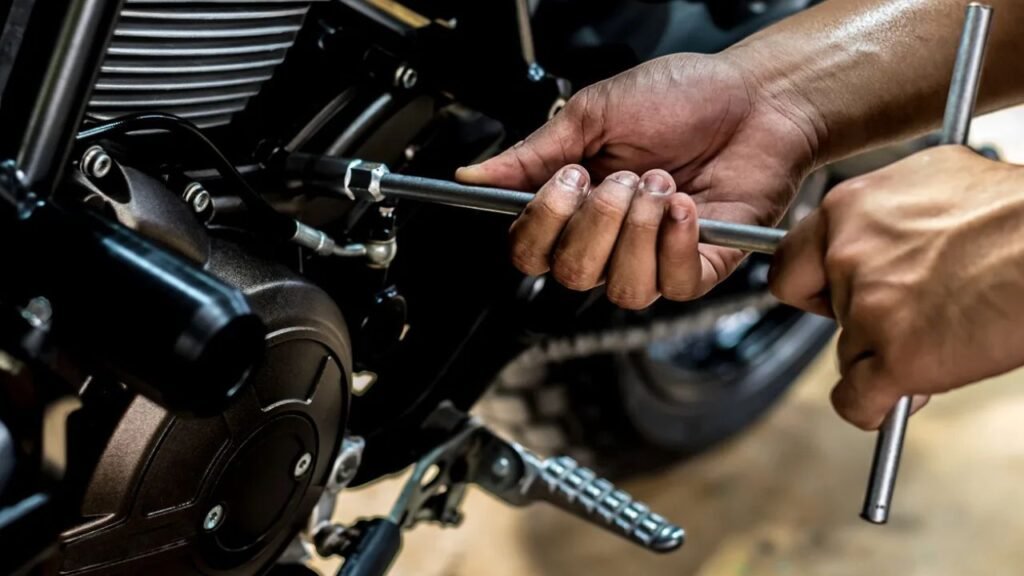
Changing motorcycle handlebars requires a few essential tools and materials to ensure a smooth and safe installation. You’ll typically need a set of Allen wrenches or hex keys, open-end or socket wrenches, screwdrivers, and possibly a torque wrench to tighten bolts to the manufacturer’s specifications. Additionally, having some lubricant, thread locker (like Loctite), and replacement handlebar clamps or risers (if upgrading) is useful. It’s also a good idea to have a clean workspace and a helper if the bars are large or heavy.
B. Step-by-Step Guide on How to Change Motorcycle Handlebars
1. Preparation:
Park your motorcycle on a stable surface using a center stand or paddock stand to prevent tipping. Disconnect the battery to avoid any electrical issues while working near controls.
2. Remove Controls and Accessories:
Start by carefully removing the grips, mirrors, levers, throttle assembly, and any switch housings attached to the current handlebars. Keep track of all screws and parts for reinstallation.
3. Loosen Handlebar Clamps:
Using the appropriate wrench, loosen the bolts on the handlebar clamps that secure the bars to the triple tree or risers. Remove the old handlebars carefully, noting the position of cables and wires.
4. Install New Handlebars:
Place the new handlebars onto the mounts, adjusting their angle and position roughly to your preference. Tighten the clamps just enough to hold the bars in place but still allow for fine adjustments.
5. Reattach Controls:
Reinstall grips, throttle, levers, mirrors, and switch housings onto the new bars. Ensure cables and wires are routed without tight bends or kinks. You may need to adjust cable lengths or brake/clutch lever reach.
6. Final Adjustment and Tightening:
Adjust the handlebars to your ideal position, ensuring comfort and control. Once satisfied, tighten all clamp bolts to the manufacturer’s recommended torque settings using a torque wrench. Reconnect the battery.
C. Tips for Ensuring Proper Installation and Safety
- Double-check cable and wire routing to prevent snagging or stretching during steering.
- Test all controls, including throttle, brakes, and switches, for smooth operation before riding.
- Use a thread locker on clamp bolts to prevent loosening from vibrations.
- If unsure about any step, consult your motorcycle’s service manual or a professional mechanic.
- After installation, take a slow test ride to get accustomed to the new handlebar feel and make any necessary adjustments.
What Is the 12-Second Rule on a Motorcycle?
The 12-second rule is a crucial safety guideline for motorcyclists that helps maintain a safe following distance from the vehicle ahead. It refers to the minimum amount of time a rider should allow between themselves and the vehicle in front to have adequate reaction time and space to avoid collisions. This rule is widely recommended by motorcycle safety experts and rider training programs as an effective way to prevent accidents caused by sudden stops or hazards.
How Does the 12-Second Rule Work?
To apply the 12-second rule, a rider picks a fixed point on the road ahead, such as a signpost, tree, or overpass. When the vehicle in front passes that point, the rider begins counting seconds (“one thousand one, one thousand two…”). If the rider reaches the same point before counting to 12, they are too close and should increase their following distance. Maintaining at least a 12-second gap ensures enough time to react safely to any unexpected obstacles or traffic changes.
Why Is It Important for Motorcyclists?
Motorcycles are less visible and offer less protection than cars, making it vital to have ample space to react. A 12-second following distance provides room to brake, swerve, or stop safely in emergencies. It also gives time to assess road conditions and avoid hazards like potholes, debris, or sudden stops by other drivers. The rule helps reduce the risk of rear-end collisions, which can be especially dangerous for riders, handlebars on a motorcycle.
Adjusting the Rule for Conditions
While 12 seconds is a general recommendation for ideal conditions, riders should increase this distance in adverse weather, low visibility, or heavy traffic. Wet roads, gravel, or nighttime riding require longer reaction times, so extending the following distance beyond 12 seconds is safer, handlebars on a motorcycle.
Comparison to the 2-Second Rule
Car drivers often use the “2-second rule” as a minimum safe following distance, but motorcycles require more time due to their vulnerability and need for greater maneuvering space. The 12-second rule accounts for these differences, promoting rider safety on varied roadways and handlebars on a motorcycle.

FAQ-
How to measure motorcycle handlebars?
How do you properly measure motorcycle handlebars? Measure width from grip to grip, rise from the mounting point to the highest bar section, and pullback from the mounting point to the grips. Accurate measurements help ensure comfort, control, and compatibility with your bike, handlebars on a motorcycle.
Are ape hangers comfortable?
Are ape hanger handlebars comfortable to ride with? Ape hangers offer a unique, relaxed arm position and cool style, but they can cause shoulder fatigue and numbness on long rides. Comfort depends on bar height, rider size, and riding style, so personal preference varies widely, handlebars on a motorcycle.
How do you measure motorcycle handlebars?
What’s the process for measuring motorcycle handlebars? Use a tape measure to find the width, rise, and handlebars on a motorcycle. and pullback. Width is measured end-to-end, rises vertically from the clamps, and pulls back horizontally toward the rider. These dimensions influence riding posture and handling.
How to change motorcycle handlebars?
How do you change motorcycle handlebars safely? Remove grips, levers, and controls, loosen handlebar clamps, remove old bars, install new bars with correct positioning, reattach controls, and tighten clamps to spec. Double-check cable routing and control function before riding, handlebars on a motorcycle.
Conclusion
Choosing the right motorcycle handlebars is essential for both rider comfort and overall bike performance. Throughout this guide, we explored various handlebar types—standard, ape hangers, clip-ons, and drag bars—and how each affects riding style, posture, and control. We also covered the importance of accurately measuring handlebars to ensure a proper fit that complements your body size and riding preferences, such as on a motorcycle. handlebars on a motorcycle.
When selecting handlebars, it’s crucial to consider your riding style, typical routes, and ergonomic needs. Comfort plays a significant role in reducing fatigue and improving control, especially during long rides. What works well for one rider might not suit another, so testing different styles and positions can help find the best match, handlebars on a motorcycle.
Ultimately, handlebars on a motorcycle are more than just a bike accessory—they are a key factor in enhancing your riding experience. The right handlebars improve maneuverability, reduce strain, and provide the confidence needed for safer, more enjoyable rides. By investing time and attention into choosing and installing the perfect bars, you’ll not only upgrade your motorcycle’s look but also create a setup tailored specifically for your comfort and control on the road, handlebars on a motorcycle.
Read More>>>>>>> How to Choose the Right Motorcycle Handlebars